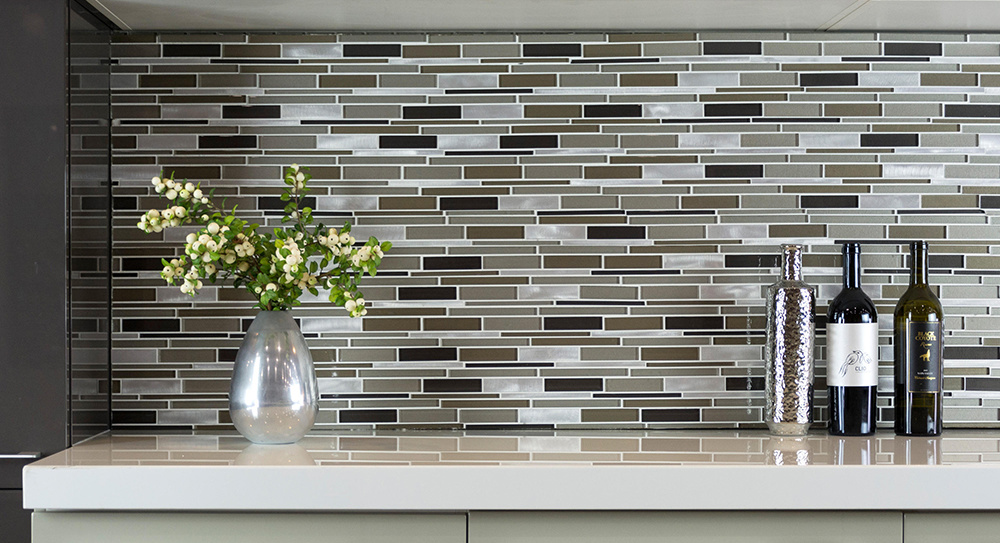
Have you ever considered glass for your floor? It’s certainly not the first thing that pops into your head when considering your flooring alternatives, but it’s something to consider. Floor-rated glass tiles can bring beauty and strength as well as reflective light into spaces that will make rooms seem larger and more open. There’s not a great deal of difference between installing glass tiles and ceramic tiles, but there are a few things to be aware of.
Basically, you will first want to prep your subflooring. It’s incredibly important for the floor to be even and plumb with no cracks or “gives” because any amount of unevenness in the floor can cause your tiles to crack. And of course it needs to be free of dust, dirt, and debris.
You need to install a crack suppression membrane first and then apply a flexible thinset mortar to lay the tiles down. Mastics have often been used, but they have also been shown to be less reliable over time, and the bonds can lose hold, especially when used in flooring. And epoxies do not provide enough flexibility.
The mortar should be color appropriate for the look you’re going for and fast-setting and flexible. You apply the mortar just as you would for ceramic tile, with a notched mortar trowel, making sure you don’t use too much. Always apply a small amount of mortar to the backs of the tiles and firmly pound the tiles into place, because any air pockets left between the subfloor and the tile can cause shifting or cracking. Depending on the opaqueness of the glass, any pockets might also be noticeable if left.
If you need to cut glass tiles to fit into spaces that won’t hold a complete tile, you can use a scoring tool (which is a bit difficult and not recommended unless you are experienced in their use) or use a wet saw. Be sure to remember that you are working with glass here too. It’s vital to wear eye protection during construction, especially when sawing, scoring, or notching, in case small shards of glass could be flying through the air. Also make sure to handle cut pieces of glass tile with care because the edges can be extremely sharp.
After you lay your glass tile floor down, you need to let it cure for a minimum of 24 hours, though 48 is better. You can then grout the tiles as you would ceramic tile. Check with your manufacturer on grout selection because sanded grout is often not recommended for use with glass. While you’re grouting, remove excess grout with the edge of the grout float and then clean up with a damp sponge. The following day you can clean the surface with water and a gentle cleanser to remove haze. Finally, apply a grout sealer, and you’re finished.


