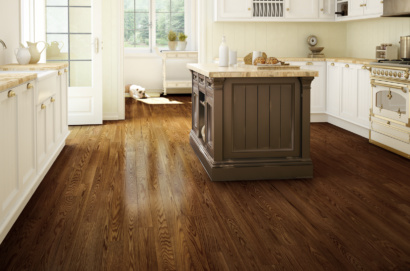
Most creaks and squeaks are caused by wood rubbing on wood – it’s a simple mechanical problem of too much material stuck in too small of a space. Many Hardwood flooring manufactures use a natural, organic material that expands and contracts as temperatures and humidity levels change. If individual planks don’t have enough room to expand, they’re forced to fight for space with the neighboring planks. For this type of “side-to-side” creaking, powdered graphite can often used to lubricate the contact areas. Simply apply graphite powder generously over the squeaky seam, place a rag or towel over the area, and work the squeak over and over until the graphite powder penetrates and the sound becomes silent. This method may take a few applications. When you’re finished, clean up the excess graphite powder with a damp towel, and enjoy the silence.
Another, more difficult squeak is one which develops between the hardwood flooring plank and the wooden subfloor. It’s always a good idea to use a quality underlayment material during the installation to help reduce this issue. If an underlayment hasn’t been used, it may be necessary to nail of screw the squeaky areas more securely to the subfloor. If nailing, be sure to pre-drill the floor plank, but not the subfloor. Apply pressure to the plank while nailing, for the most secure fit. If using screws, pre-drilling planks is a MUST! This will help prevent cracking. Always use screws with square drive heads – common Phillips screws slip too easily. Be sure to lubricate the screw with a little soap or wax, apply pressure to the plank, and drive until the screw head sits just beneath the plank surface. Finish by applying wood filler over the screw head.
In addition to using an underlayment during install, it is important to leave at least ¼” between the wall and the first plank in each row. This extra space allows the wood to expand without obstruction. The small gap can easily be covered by a quarter round or decorative molding. Remember to follow manufacturer’s instructions to a T, and always consult with a licensed contractor before any DIY install.